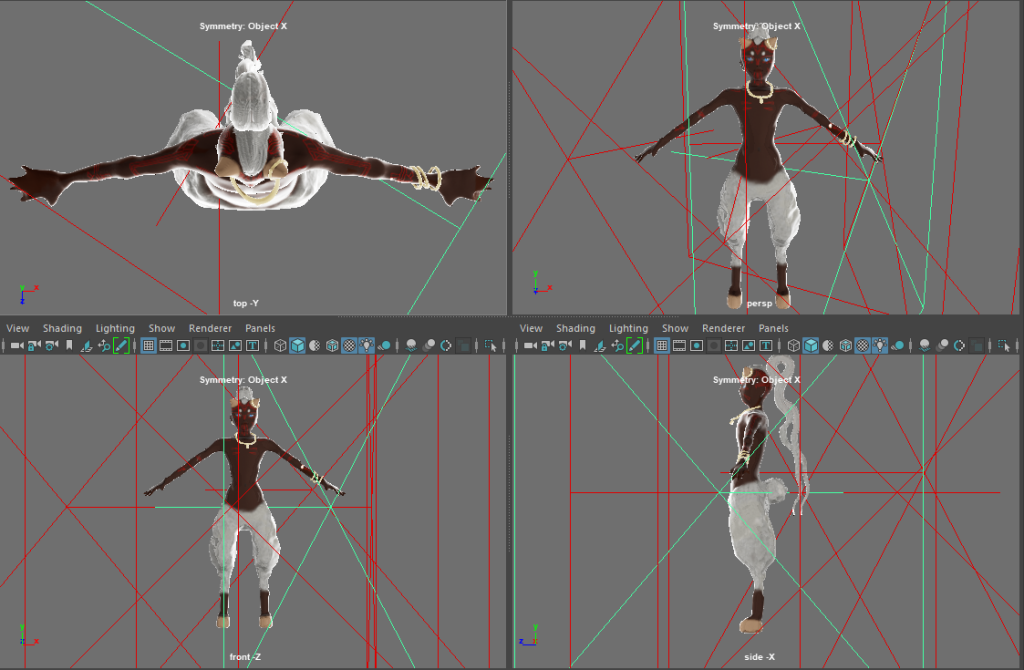
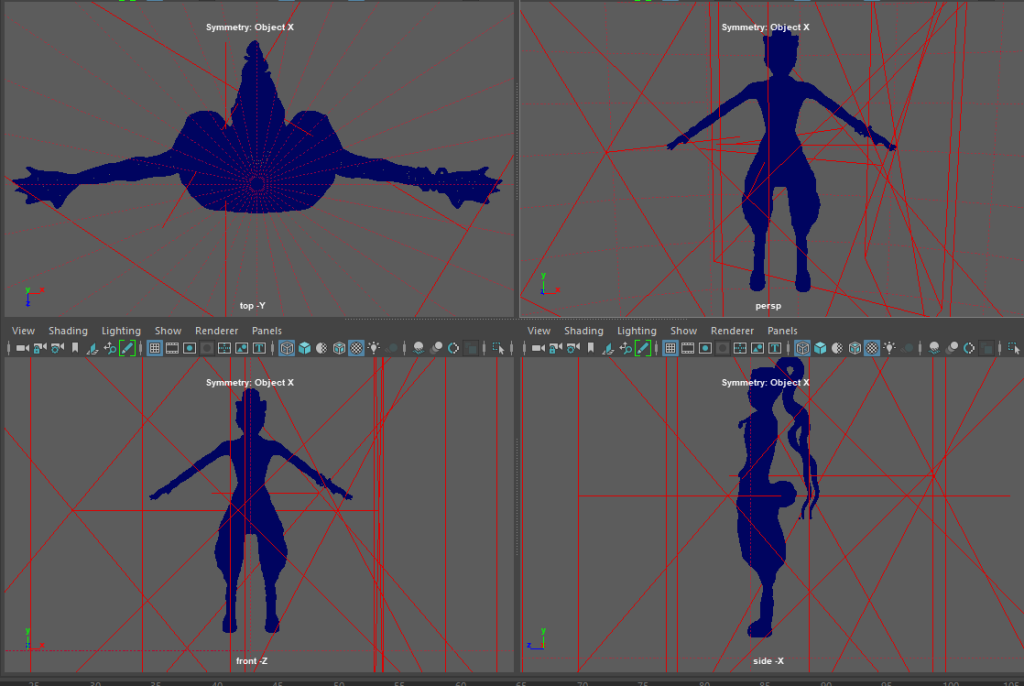
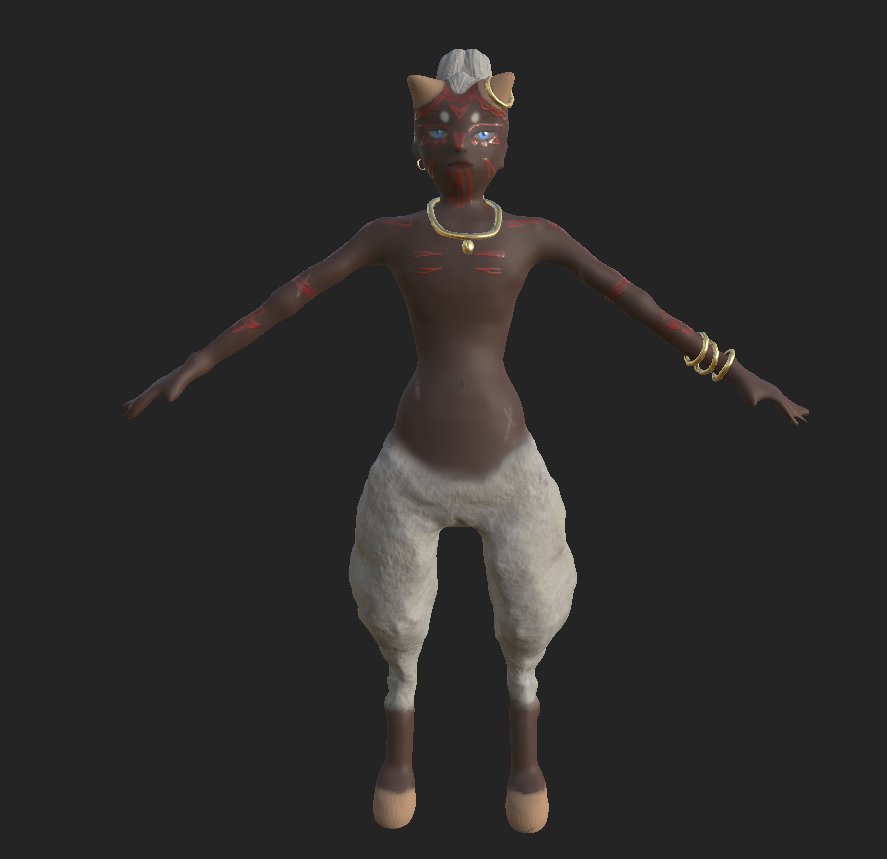
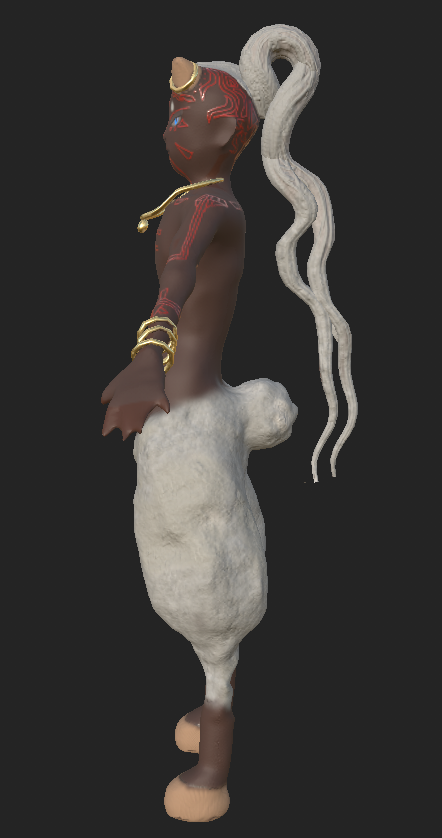
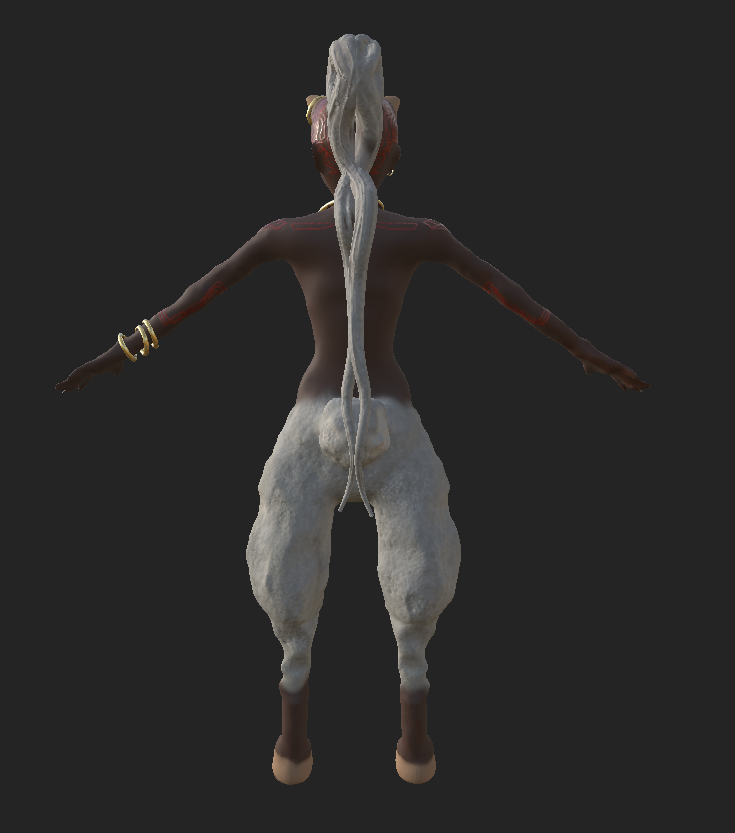
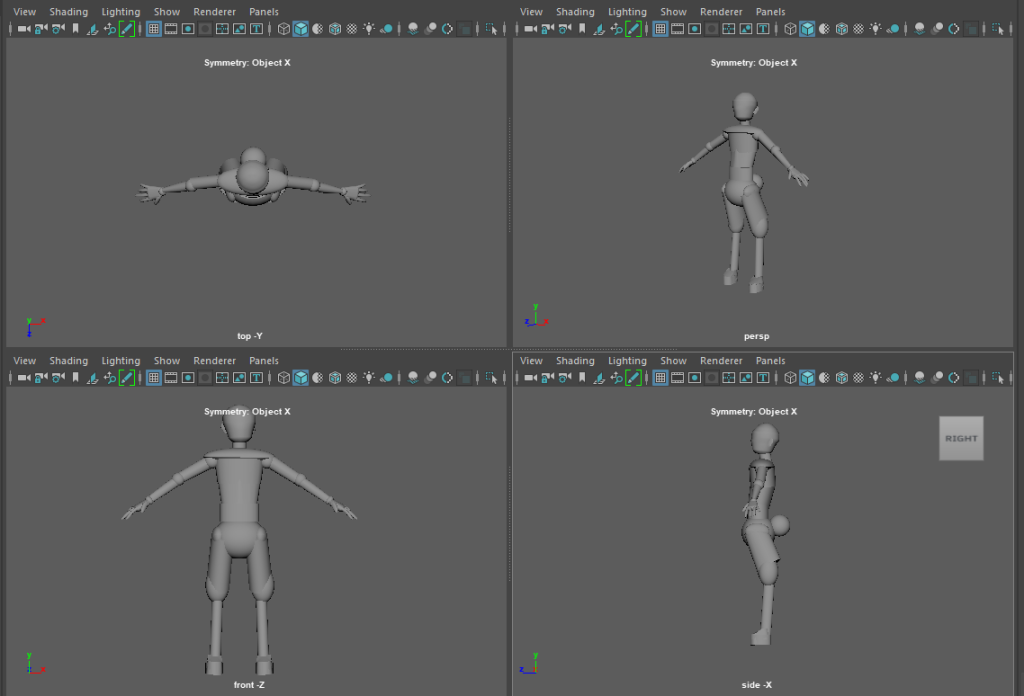
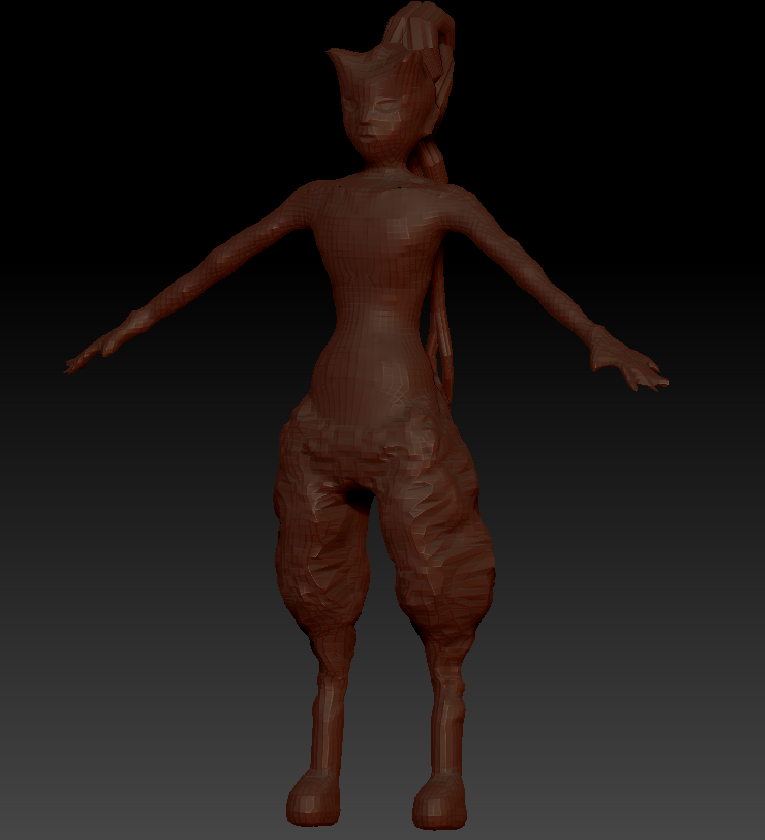
Rendered Images and wireframes including orthographic views showing the topology of your character

At first I used Maya to shape out the body in basic shapes to make it easier to sculpt when I moved it to ZBrush.

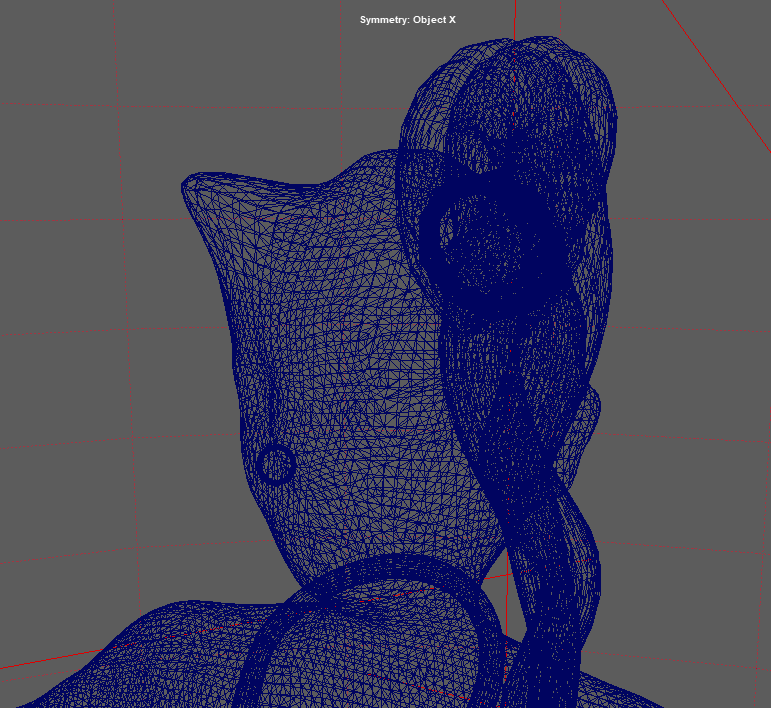
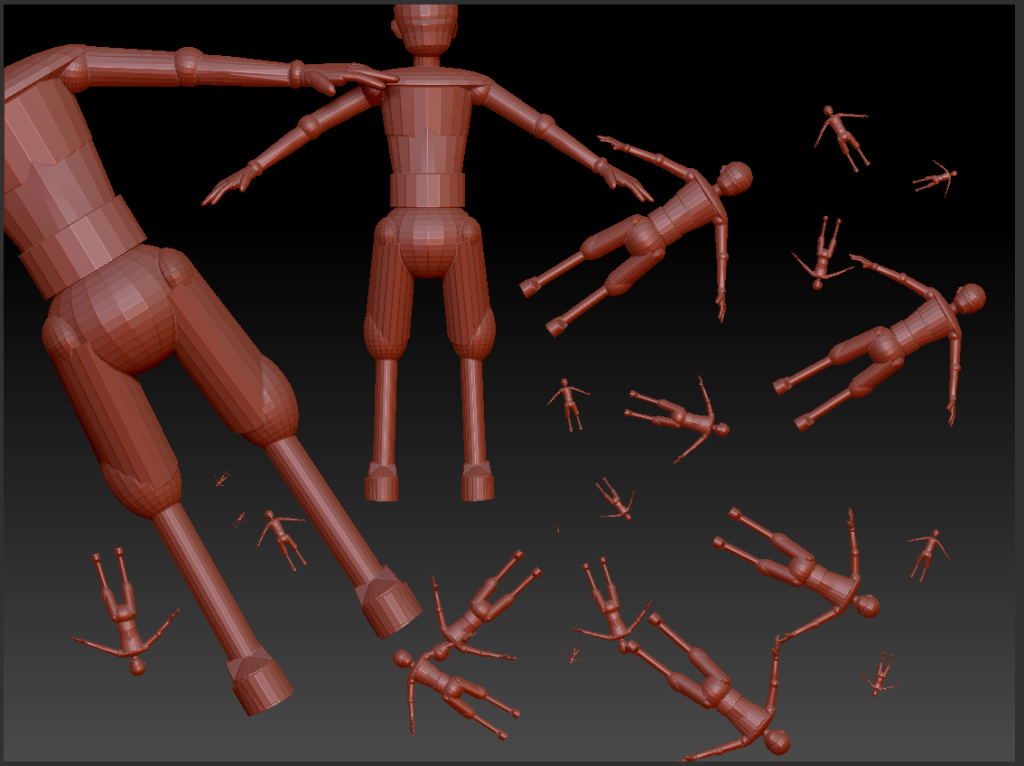
I took a long time on the hands, shaping them with cylinders and spheres until they were hand shaped. Unfortunately when I moved it into ZBrush and added DynaMesh for sculpting it messed up the hands and I struggled to fix it. I ended up with a vague webbed hand shape. Which isn’t exactly perfect, he’s not a duck, but it at least gave the impression of hands. Maybe he uses them as scoops for snow.

When I’d finished crafting in ZBrush I moved it back to Maya, I also smoothed it out there.

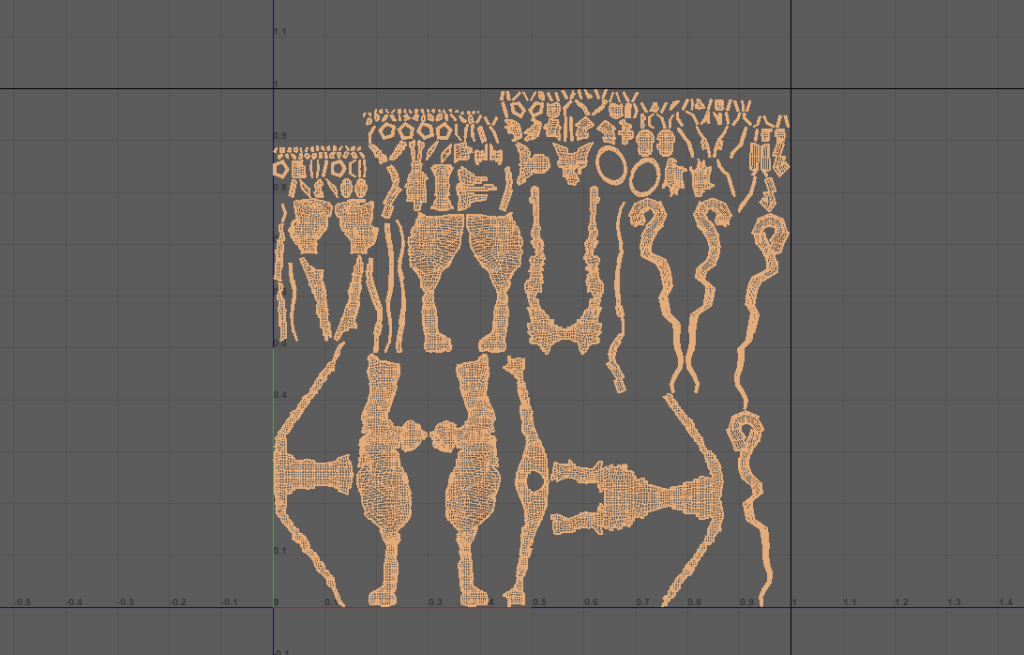
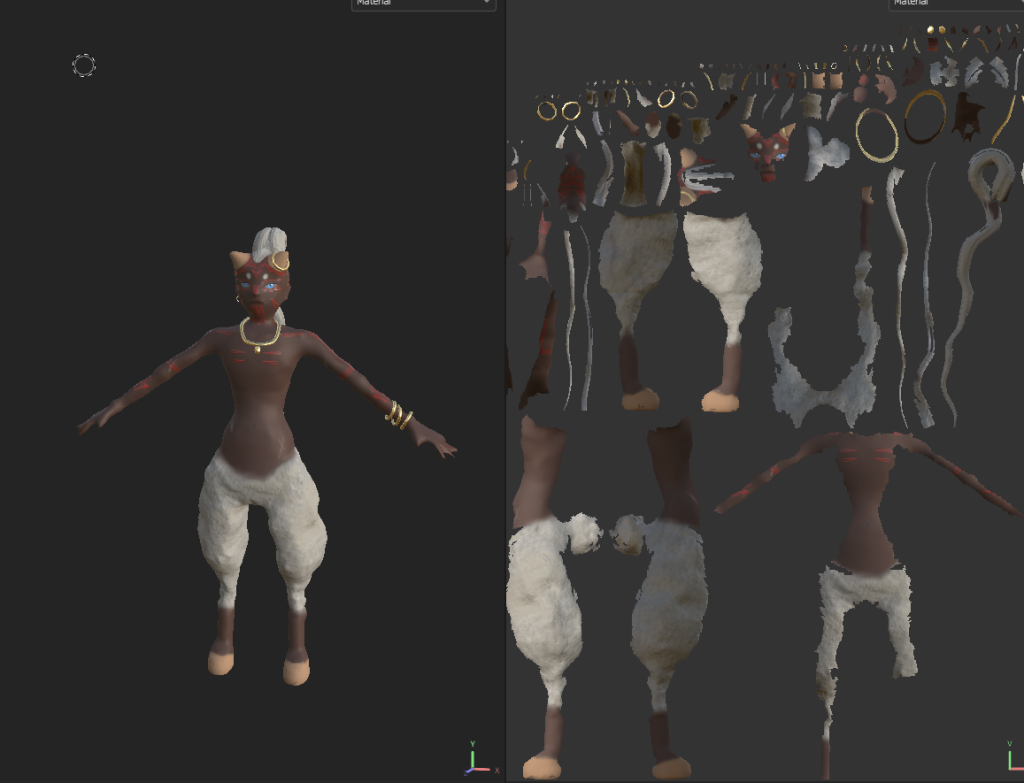
When I finished sculpting I moved the model back into Maya to create UV’s as that’s where I learned how to do it. These are automatic generated ones, as I was excited to get the model into Substance, and just needed something to work with.
This is the finished Substance model, with UVs displayed.
Orthographic view with lighting for the turntable animation. I added a skylight and area lights to make sure it’s well lit and easy to see.
The wireframes. They look a bit chaotic so it’s hard to see.
Head wireframe to show how the model looks closer up.
I included these next few images as better view of what the model looks like, the others don’t show it very well.
As you can see the facial structure isn’t great. I struggled with forming a nose for the profile. It looks fine from the front but the side could have done with being a bit longer.
The hair and tail are the only parts I feel I got perfect and exactly how I imagined him.
Turntable recording made in Maya of my model. This was a real challenge for me as I’d never done anything like it before. It’s a little wobbly but after figuring out how to do it I learned a lot about animation.
In case video doesn’t work.