Rigging, Joint Orientation and Weight Painting
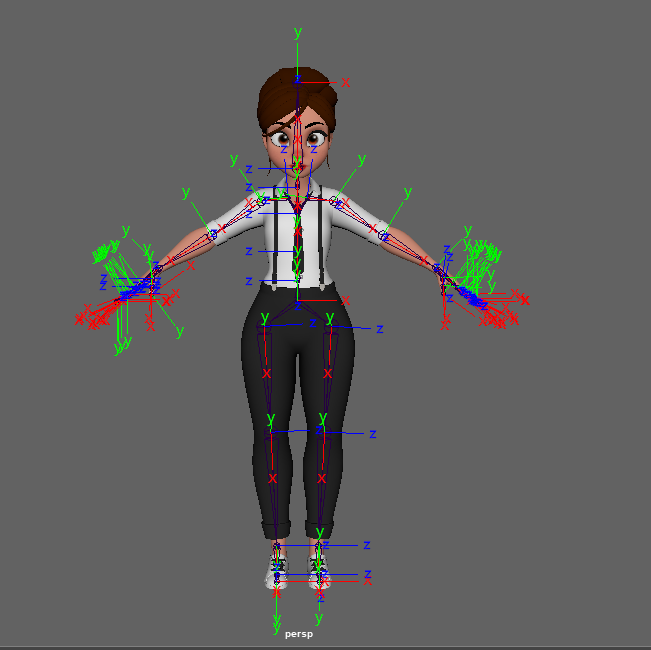
I then went on to rigging, following the guide on canvas. Starting with the legs I created joints for the ankle, knee and feet. I then moved on to the rest of the body. The hands were a little tricky, as I forgot thumbs do not need as many joints. I did not bother with the individual toes as the character is wearing shoes and you would not be able to see them. I struggled a little with the spine and kept twisting in my seat trying to figure out where it moves before finding a good youtube video on it to help me. Theirs was completely straight but due to the character I was using I made the spine slightly bent like a real one.
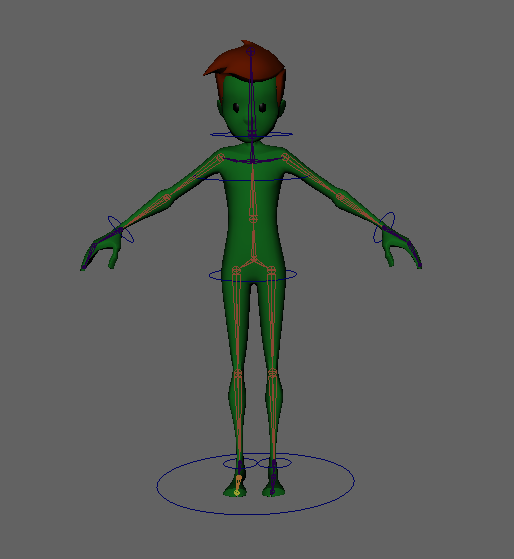
I had a lot of issues even rigging the waitress model, as she had a lot of internal parts I couldn’t weight paint very easily. So, I switched to a different model which fit my ideas a lot more as he kind of looks like an alien. In the end I ended up rigging two different models, which means I learned a lot more about rigging than I ever intended to, but it was an enlightening experience and I think I could rig something in my sleep now.
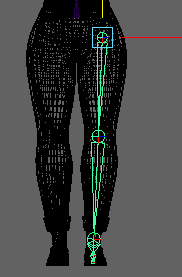
I then moved on to joint orientation, making sure all the joints were aligned to the right axis to move correctly. I made sure X was always following the joint, and the Z axis a pivot for the joint. Joint orientation decides what kind of motion the joints have.
I had to redo the legs as the orientation was off and when I moved them her leg got absorbed into her body which wasn’t ideal.
I did all this for the second character after running into weight painting issues. As he had no internal parts, the weighting didn’t have to be as specific and it really helped. As he didn’t have fingers, I didn’t have to worry about rigging them. I just made the hand bend in half. He had a lot thinner parts though, and I had to be careful to not make the legs too straight as they bent backwards instead of forward. In order to fix this, I brought the knee joint a tiny bit further forward, which made it bend the right way.
I added in control points to make moving the arms, legs, and spine easier. I added rotation on some of the spine points to make him able to move and twist naturally.
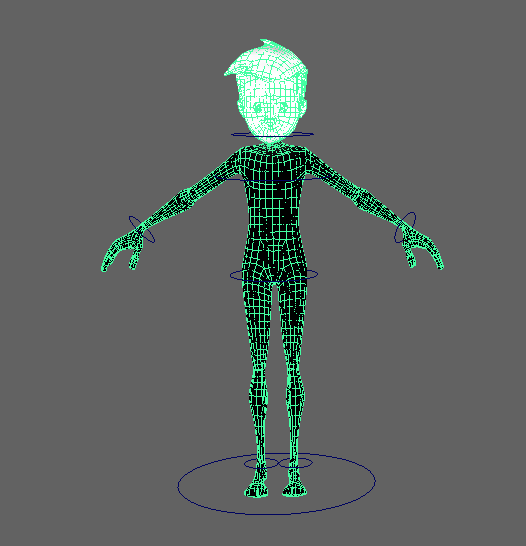
I did have weight painting issues anyway, the models head got slightly deformed but not enough to be noticeable or for it to matter. I’m not sure why this happened, apparently it’s just a Maya thing but I hope to find more info on that next time I try it, as it must be fixable!
The second attempt went much better, and even though it took up a lot of time I really learned how to make a moveable, complete model ready for animation.